Launching Games using the generic GUI Launcher
The GUI Launcher is an application that primarly manages your profiles. Profiles are your isolated modding environments. Every profile has an associated game path, framework, mods folder and settings for that mods (load order, enabled status, version).
| As opposed to other Andraste components, the GUI Launcher is very decoupled from the actual game you want to launch. As a result, the generic GUI Launcher should be capable of launching almost every game and andraste framework flavor. This means you can use the same launcher for multiple games even! |
Getting Started
Create your first profile
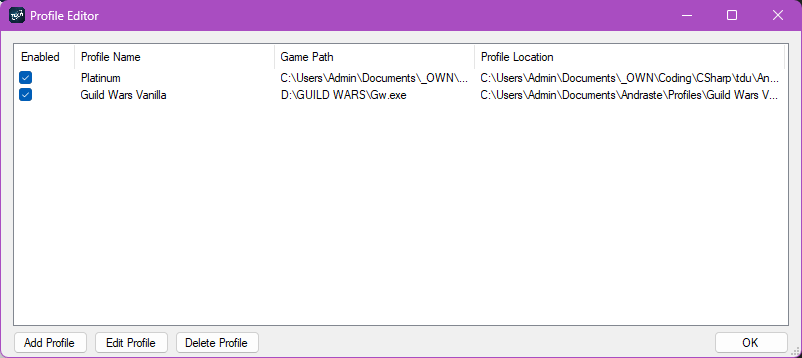
Everything in the UI Launcher revolves around profiles. As such, your first action has to be to create a profile. Click on the Profile Manager and there click on "Add Profile".
This will open a wizard, whose steps look like the following:
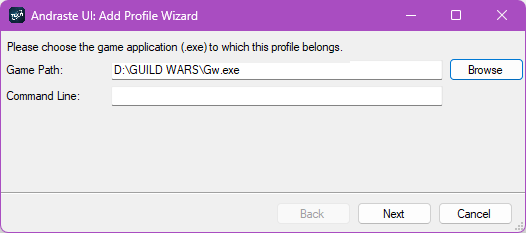
On the first wizard page, you have to tell your profile which game to launch and which launch arguments (command line) to use. Most of the time, this is blank, but if you were launching the game with different arguments, you may want to adjust this here.
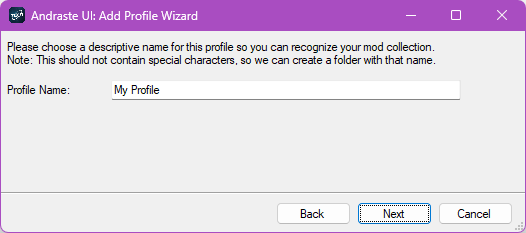
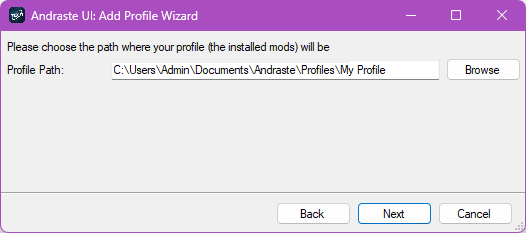
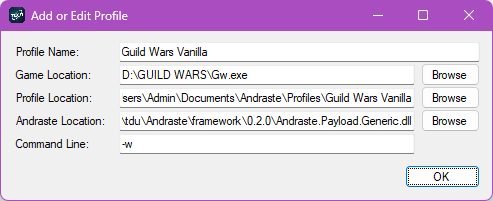
On the third wizard page, the prefilled profile location should probably be fine, unless you are planning on installing a lot of heavy mods and know you don’t have enough disk storage on that partition. In that case, just pick a different location.
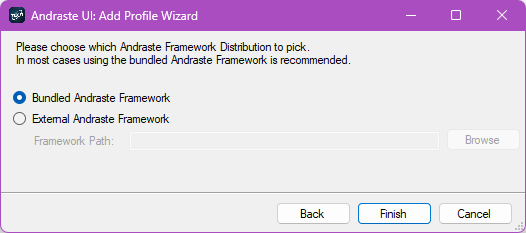
Andraste frameworks are a more advanced topic, covered here, but in most cases, picking the bundled framework should be fine. It will default to the most recent "generic" framework at the time of downloading the UI Launcher.
| If any mod/plugin you download demands a specific version of andraste, you’ll most likely need to download it and use the "external andraste framework" option here. |
Adding Mods to your profile
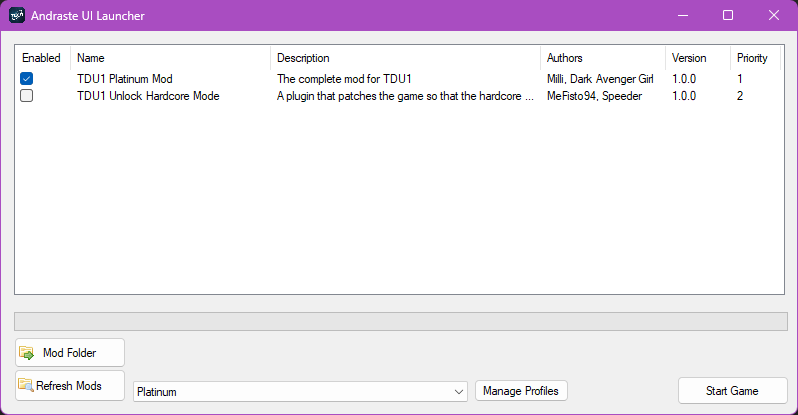
Click on the "Mod Folder" button, it should open the correct folder in your Windows Explorer. Installing mods is now as simple as placing every mod inside that folder. In case your mod came zipped, you have to unzip it. You then have to press "Refresh Mods" for them to appear in your profile.
If the mod hasn’t been found/loaded (check the logs), make sure the
directory structure is correct: mods → mod-name [1] → mod.json
|
Switching between profiles
In case you have more than one profile, you can switch between them on the drop down next to "Manage Profiles".
In order to keep that drop down list small to the most relevant entries, you can "enable" profiles in the profile manager. Only enabled profiles will appear in the drop down.
The list of mods should auto reload, but you can always press "Refresh Mods"
| This isn’t the best design decision and may change in the future. |
